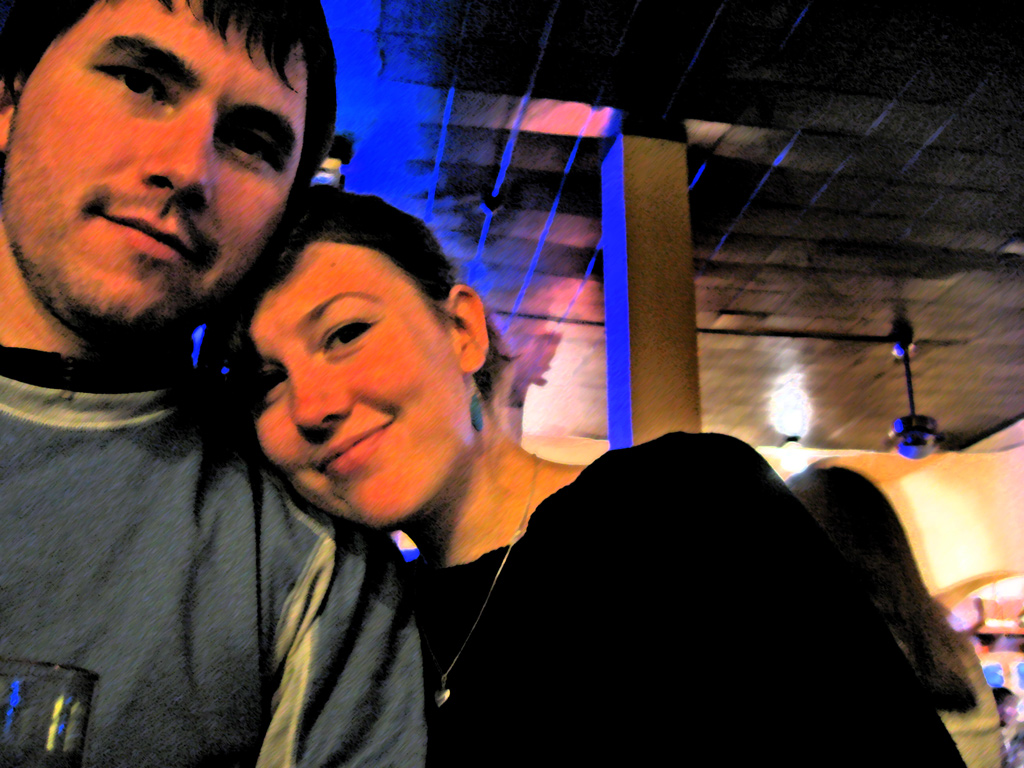
In the spirit of summary, I have assembled many of my best photos onto a single page. They can also be viewed as a slideshow.
My photos are covered by a Creative Commons License.
climate change activist and science communicator; photographer; mapmaker — advocate for a stable global climate, reduced nuclear weapon risks, and safe human-AI interaction

Equipment, examples, history – all matters photographic
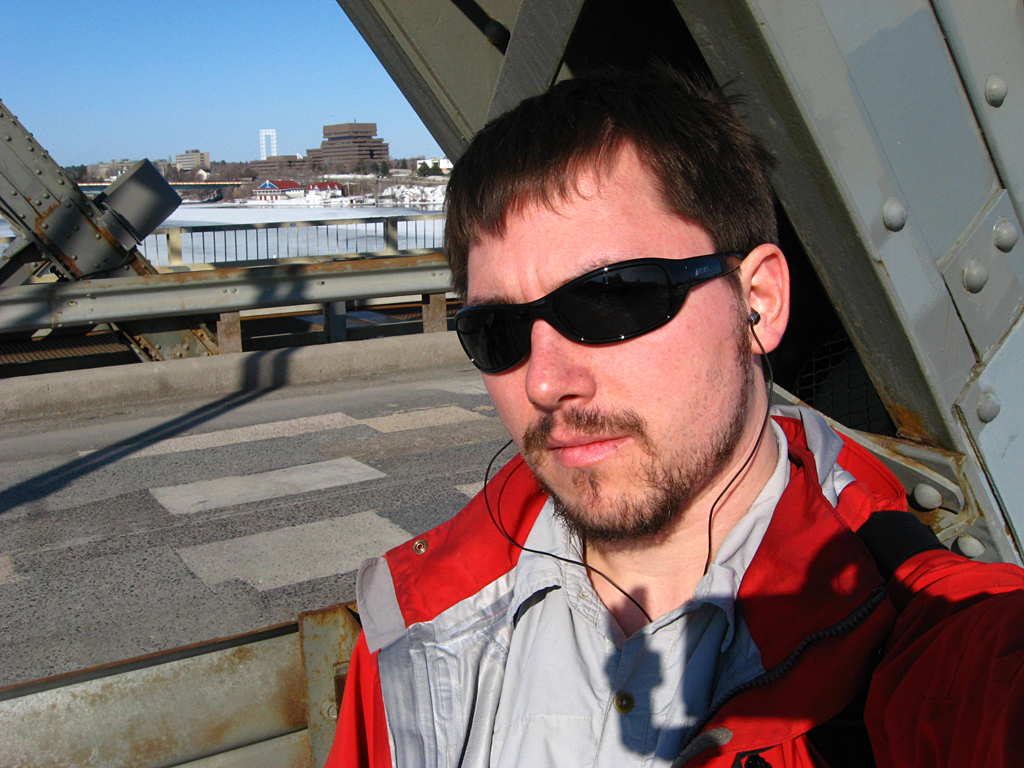
In the spirit of summary, I have assembled many of my best photos onto a single page. They can also be viewed as a slideshow.
My photos are covered by a Creative Commons License.
I seem to have stumbled across a camera that is, in many ways, ideal for me: the Ricoh GR Digital. My reasons, in roughly decreasing order of importance:
That being said, it does seem a bit strange to spend $700 on a fixed-lens point and shoot camera when you can get a DSLR kit (something like the Digital Rebel XT) for a couple hundred more dollars. The DSLR is far more versatile and capable overall. That being said, my Elan 7N has spent the last year gaining dust in its case; my point and shoot digicam, by comparison, basically only leaves my side when I am in the shower.
I previously mentioned the possibility that jpeg metadata could cause problems with your cropping, revealing sections of photos that you did not want to make public. Another risk that people should be aware of relates to the particular ‘signatures’ of the digital sensors inside cameras:
If you take enough images with your digital camera, they can all be compared together and a unique signature can be determined. This means that even when you think that you are posting a photo anonymously to the internet, you are actually providing clues for the government to better tell who you are. The larger the sample size of images they have, the easier it is them to track down images coming from the same camera. Once they know all the images are coming from the same camera, all they then have to do is find that camera and take a picture to confirm it beyond a reasonable doubt.
The possible implications are considerable. This technique could be used in crime fighting, though also in tracking down human rights campaigners and other enemies of oppressive states. While the linked page lists some techniques for removing the tell-tale signs, there is no guarantee they will work against any particular agency or individual who is trying to link a bunch of photos to one camera or photographer.
The take-home lesson is that anonymity is very hard in a world where so many tools can be used to puncture it.
Spring 2008 beard progression:
What might the future hold?
Bullies within private security and police forces are increasingly keen to harass people taking photographs in public places. As such, being aware of the laws relating to photography in your jurisdiction is quite worthwhile. The standard ‘I am not a lawyer / this does not constitute legal advice’ warning applies.
Things you cannot do:
Things you can do:
The document linked above has a lot more detail, including statutes specific to provinces. It also has some good tips on what to do if you are confronted about taking photographs. As always, remaining calm and polite – but clear and firm about what it is within your rights to do – is the best approach. Deleting your photos in response to a confrontation is probably not a great idea because (a) it reinforces the idea that those confronting you have the right to make you do this (b) when they almost certainly do not (the exemption is the national security case) and (c) you will be destroying evidence that the photos you were taking were legal.
Recently, I was pleased to discover that one can make perfectly good 4 x 6″ prints from photos taken with a 3.2 megapixel camera. With images of just 2048 by 1536 pixels, I was worried that the images would be blocky or would show lots of JPEG artefacts. As it happens, I think it would be very difficult to tell these prints from ones taken with an otherwise identical camera of much higher resolution. The only really problematic images are those shot at a high ISO, largely owing to the small sensor in the Canon A510 with which most of my recent images were taken.
Now that I know that decent (small) prints can be made from my digital files, I may be inclined to make a lot more of them. It is certainly good to have a physical backup accompanying the many digital ones. The only really annoying thing is the need to crop each photo from 4:3 aspect ratio to 3:2 aspect ratio. That works decently for most prints, but those with very geometric compositions can suffer a lot from the conversion. For instance, while a photo like this can be cropped pretty painlessly, one like this is considerably worsened by cropping it into a narrower form.
This short video on climate change, produced by Toronto Star photographer Lucas Oleniuk, is very elegant. It doesn’t have a great deal of substantive content, but it includes a lot of striking visual images. Rather than being shot continuously, it consists of 20,000 black and white still images.
The video, and some of the claims made in it, are being discussed on Metafilter.
Adobe has released a free web-based version of their most popular image editing program, called Photoshop Express. The software allows for a number of fairly basic modifications, including cropping, exposure correction, saturation and white balance changes, and sharpening. One nice touch is that it does allow the conversion of images to black and white using any of several virtual colour filters. The free service includes two gigabytes of storage, and seems to include mechanisms for integrating with Facebook, Photobucket, and Picasa.
The web version has nothing on the full version of Photoshop – lacking tools like levels and curves, not to mention paths, masking and the thousands of other things that make Photoshop so versatile. That said, it’s a nice thing to be able to use in a pinch, when nothing more capable is readily available.
What do people think about the big thumbnail images in the last few posts? They do allow for a much better sense of the overall picture, and they don’t sit awkwardly to one side of a white space. At the same time, they seem to diminish the text – especially when you cannot see the beginning of a post without scrolling down.
Should I stick with 450 pixel thumbnails or revert to 320 pixel ones?
Canon’s point and shoot digital cameras have many features to recommend them. Among the most important is the intelligent design of the controls. Critical things like exposure compensation, white balance, and flash status can be altered intuitively. The single setting I change most often is probably ISO (the sensitivity of the sensor). You want it to be as low as possible (to avoid graininess) but high enough to avoid blur from subject or camera shake. If you are working in changing light conditions, this is a balance that changes all the time.
One neat thing I discovered is that the A570 lets you program one of the buttons to be a one-touch shortcut to something you do very often. To do so, follow these steps:
Now, pressing the button in the upper right corner below the printer icon becomes a quick shortcut to whichever you do most often. It might only save a fraction of a second each time, but it amounts to a very worthwhile convenience in the long run.